
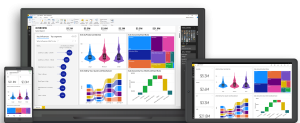
In the realm of business intelligence, Microsoft’s Power BI stands as a formidable analytical software. Offering a robust suite of tools, Power BI empowers users to unlock the full potential of their data, making it a must-have for data visualization, data mining, and generating insightful graphs and charts. If you’re ready to harness the power of Power BI on your Windows operating system, this comprehensive guide will walk you through the installation process step by step.
Understanding Power BI: A Brief Overview
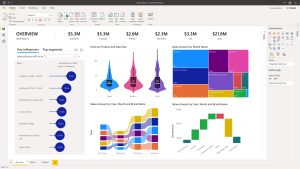
Before we dive into the installation steps, let’s grasp the essence of Power BI. This software, abbreviated as BI, which stands for business intelligence, has been in development by Microsoft since 2011. Its stable release in 2023 marked a significant milestone in the world of data analytics. Power BI offers a plethora of functionalities, including data visualization, data mining, and the creation of interactive graphs and charts. Moreover, it boasts advanced data warehousing capabilities such as data cleaning, data preparation, and data discovery.
Exploring Power BI’s Suite of Tools
Power BI is more than just a standalone software; it’s a comprehensive suite that includes various components tailored to different needs:
1. Power BI Desktop
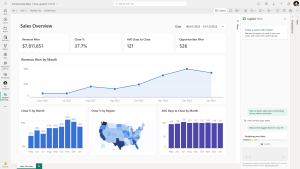
Power BI Desktop is the cornerstone of the suite. This application is your go-to tool for creating comprehensive reports. Whether you’re dealing with data from multiple sources or need to craft engaging visualizations, Power BI Desktop has you covered.
2. Power BI Service (SaaS)
The Power BI Service, delivered as Software as a Service (SaaS), is your platform for publishing reports. It enables you to share your insights with colleagues and collaborators seamlessly.
3. Power BI Mobile App
For on-the-go data access, Power BI provides mobile apps compatible with various platforms. These apps allow you to access reports and dashboards from your smartphone or tablet, ensuring that you stay connected to your data, no matter where you are.
Installation Guide for Power BI on Windows
Now that you have a clear understanding of what Power BI offers, let’s proceed with the installation process. Follow these steps to get Power BI up and running on your Windows system:
Step 1: Visit the Official Website
Start by opening your preferred web browser and navigate to the official Power BI website.
Step 2: Download Power BI Desktop
On the website, locate and click on the “Microsoft Power BI Desktop” application.
Step 3: Begin the Download
A new webpage will open; here, you’ll find the “Download” button. It may be clicked on to start the download.
Step 4: Choose Your Setup
The next page will present you with various setup options based on your system configuration. Select the appropriate setup option, usually the first one, and click “Next.” The download will commence; be patient as it’s a substantial 361.7 MB file.
Step 5: Run the Executable File
Once the download is complete, check your system’s downloads folder for the executable file. Run the file to kickstart the installation process.
Step 6: Confirm the Execution
You’ll receive a prompt asking for confirmation to run the file on your system. Click “Run” to proceed.
Step 7: Choose Your Language
The next screen will prompt you to select your preferred language. Choose your language of choice and click “Next.”
Step 8: Confirm System Changes
You’ll encounter another confirmation prompt, this time regarding changes to your system. Click “Yes” to authorize the changes.
Step 9: System Preparation
Your system will now prepare for the installation.
Step 10: Initiate Setup
Click “Next” on the setup screen to advance.
Step 11: Accept the License Agreement
You’ll be presented with the License Agreement; check the box indicating that you accept the terms and click “Next.”
Step 12: Choose the Installation Folder
Following selecting the installation’s target folder, click “Next.”
Step 13: Start Installation
On the final setup screen, click “Install” to begin the installation process.
Step 14: Installation in Progress
The installation process will now commence and should take only a minute to complete.
Step 15: Installation Complete
Once the installation is finished, click “Finish.”
Step 16: Launch Power BI
Congratulations! You’ve successfully installed Power BI on your Windows system. You’ll find an icon on your desktop that you can use to launch the software.
Step 17: Explore Power BI
Now, go ahead and run the software to explore its interface and start harnessing the power of data analytics.
In Conclusion, with Power BI installed on your Windows system, you’re equipped to unlock the full potential of your data, transforming it into actionable insights and powerful visualizations. Happy data analysis. Pic Credit | Google.
Windows 11 Use Paint’s Full Potential to Remove Backgrounds